Training and Deploying COMPASS Policies with NuRec Assets#
COMPASS (Cross-embodiment Mobility Policy via Residual RL and Skill Synthesis) trains navigation policies that can transfer across robot embodiments. Isaac Lab supports COMPASS training with NuRec scene assets, so policies can be developed in reconstructed real-world environments instead of relying only on hand-authored simulation scenes.
This page gives a short overview of the supported NuRec assets and example COMPASS training clips. For installation, asset registration, training, evaluation, export, and ROS 2 deployment instructions, see the COMPASS handbook.
NuRec Assets for COMPASS#
NuRec assets matter for COMPASS because they allow navigation policies to train in simulation on realistic geometry, visual appearance, and obstacle layouts. This, in turn, should reduce the sim-to-real gap between training scenes and real operating environments and improve zero-shot transfer. They also make it possible to evaluate policies in reconstructed simulation scenes that better reflect target deployment spaces.
Some sample assets compatible with COMPASS training are available in the PhysicalAI-Robotics-NuRec dataset on Hugging Face.
Real2Sim Assets#
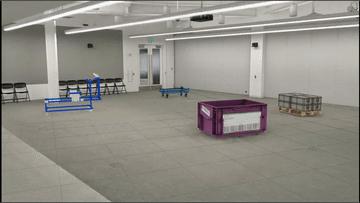
NVIDIA Neural Reconstruction (NuRec) converts real-world sensor data into digital simulation-ready assets for training and testing Physical AI agents. The Real2Sim workflow converts stereo RGB captures into Isaac Sim-ready assets with aligned geometry, collision meshes, and simulation-ready scene augmentation. The PhysicalAI-Robotics-NuRec dataset includes several robotics scenes produced with this workflow; two examples are shown below.
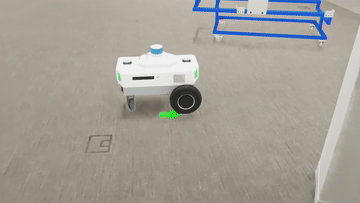
Galileo# Embodiment: Nova Carter [wheeled robot]
Sensor Rig: 4 x Stereo Camera
|
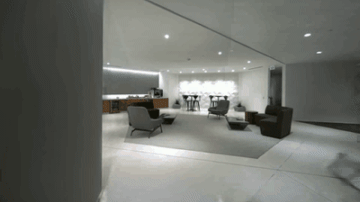
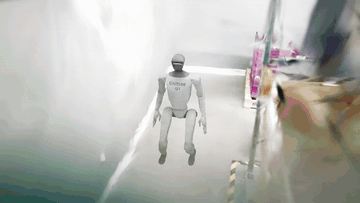
Living Room# Embodiment: Hand-Held
Sensor Rig: 1 x Stereo Camera
|
XGRIDS Assets#
COMPASS also supports compatible assets reconstructed with XGRIDS. These assets are post-processed into the NuRec format used by the COMPASS workflow, including mesh alignment and augmentation with simulation-ready assets available in Isaac Sim.
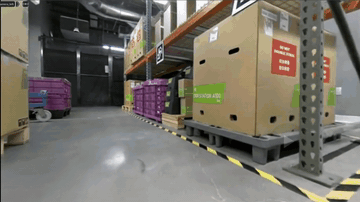
Wormhole# Embodiment: Hand-Held
Sensor Rig: XGRIDS PortalCam [2 x fish-eye cameras, 2 x front cameras, 1 x LiDAR]
|
COMPASS Workflow#
The complete COMPASS workflow is maintained in the COMPASS repository:
Repository: NVlabs/COMPASS
Branch:
real2sim/isaaclab_3.0Guide: NuRec asset workflow
The guide covers the COMPASS code path for training with NuRec assets generated by the Real2Sim workflow, including Isaac Sim and Isaac Lab setup, COMPASS installation, asset download and registration, residual RL specialist training, evaluation, ONNX and TensorRT export, and ROS 2 sim-to-real deployment.
Training Examples#
The following clips show COMPASS training with different robot embodiments in NuRec scenes.