Setting up Visual Studio Code#
The following is only applicable for Isaac Sim installed via the Omniverse Launcher.
The Isaac Lab repository includes the VSCode settings to easily allow setting
up your development environment. These are included in the .vscode directory
and include the following files:
.vscode
├── tools
│   ├── launch.template.json
│   ├── settings.template.json
│   └── setup_vscode.py
├── extensions.json
├── launch.json  # <- this is generated by setup_vscode.py
├── settings.json  # <- this is generated by setup_vscode.py
└── tasks.json
To setup the IDE, please follow these instructions:
Open the
IsaacLabdirectory on Visual Studio Code IDERun VSCode Tasks, by pressing
Ctrl+Shift+P, selectingTasks: Run Taskand running thesetup_python_envin the drop down menu.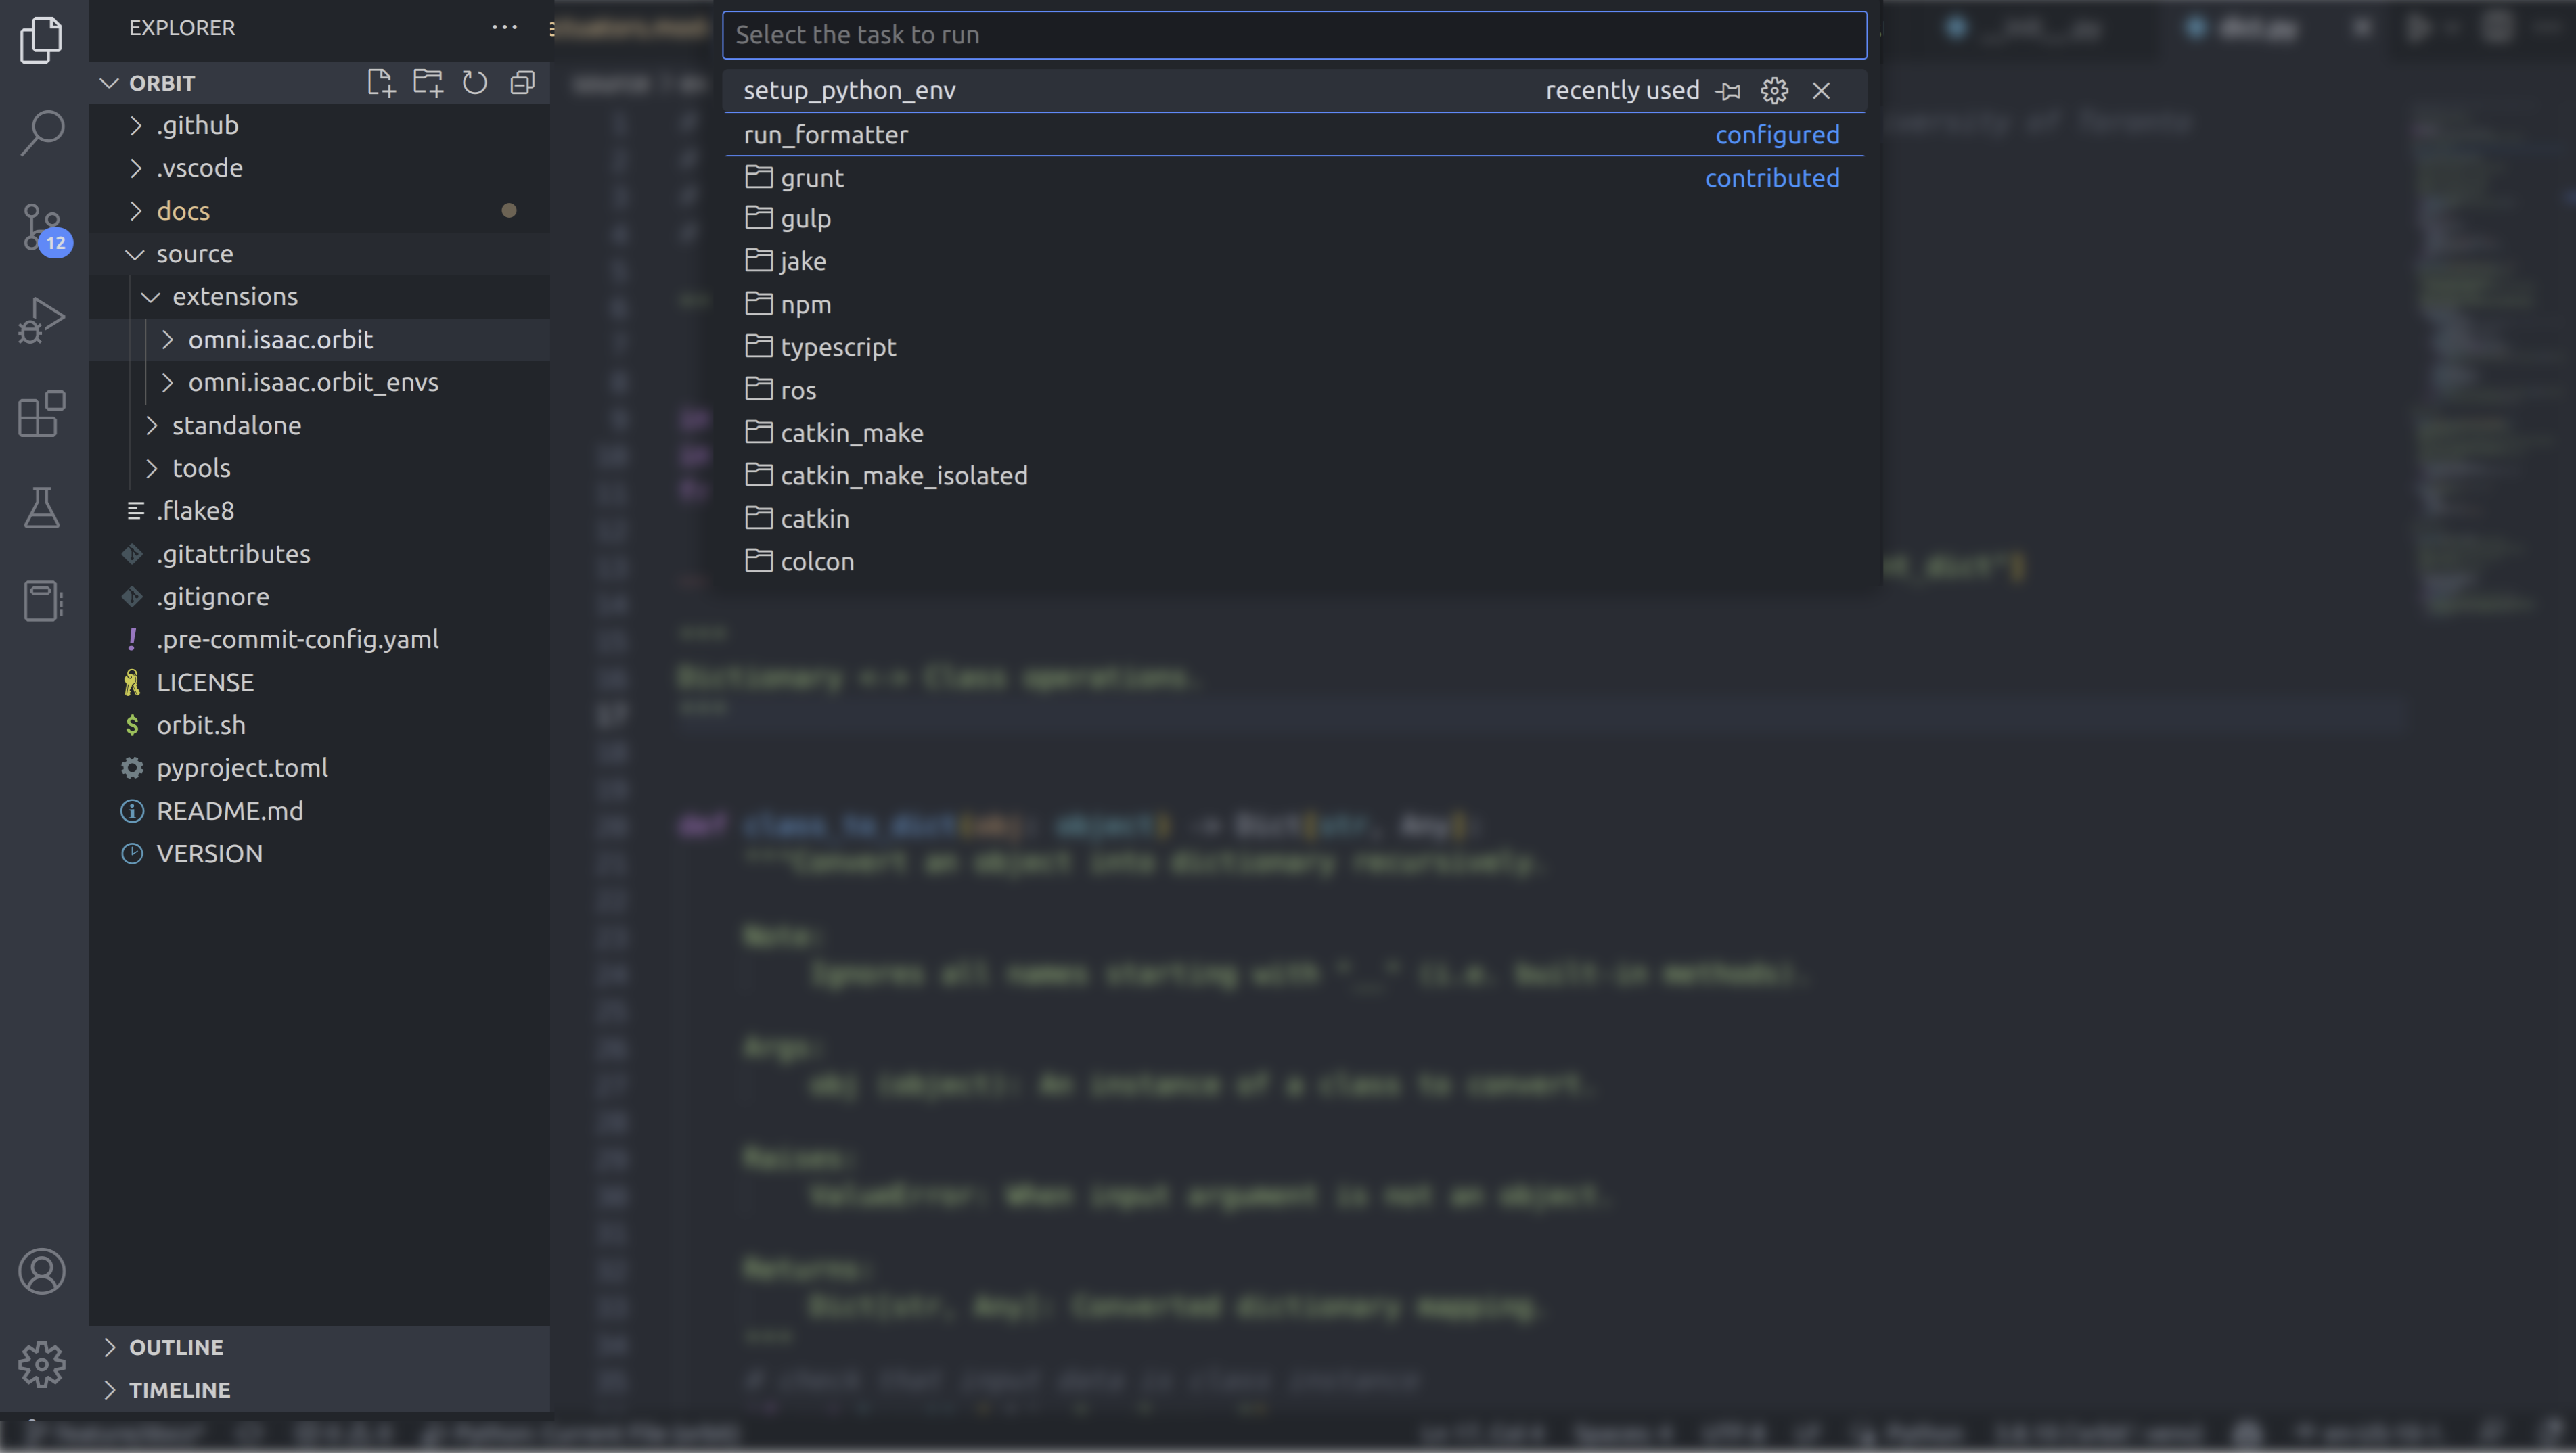
If everything executes correctly, it should create the following files:
.vscode/launch.json: Contains the launch configurations for debugging python code..vscode/settings.json: Contains the settings for the python interpreter and the python environment.
For more information on VSCode support for Omniverse, please refer to the following links:
Configuring the python interpreter#
In the provided configuration, we set the default python interpreter to use the
python executable provided by Omniverse. This is specified in the
.vscode/settings.json file:
{
   "python.defaultInterpreterPath": "${workspaceFolder}/_isaac_sim/python.sh",
}
If you want to use a different python interpreter (for instance, from your conda environment),
you need to change the python interpreter used by selecting and activating the python interpreter
of your choice in the bottom left corner of VSCode, or opening the command palette (Ctrl+Shift+P)
and selecting Python: Select Interpreter.
For more information on how to set python interpreter for VSCode, please refer to the VSCode documentation.